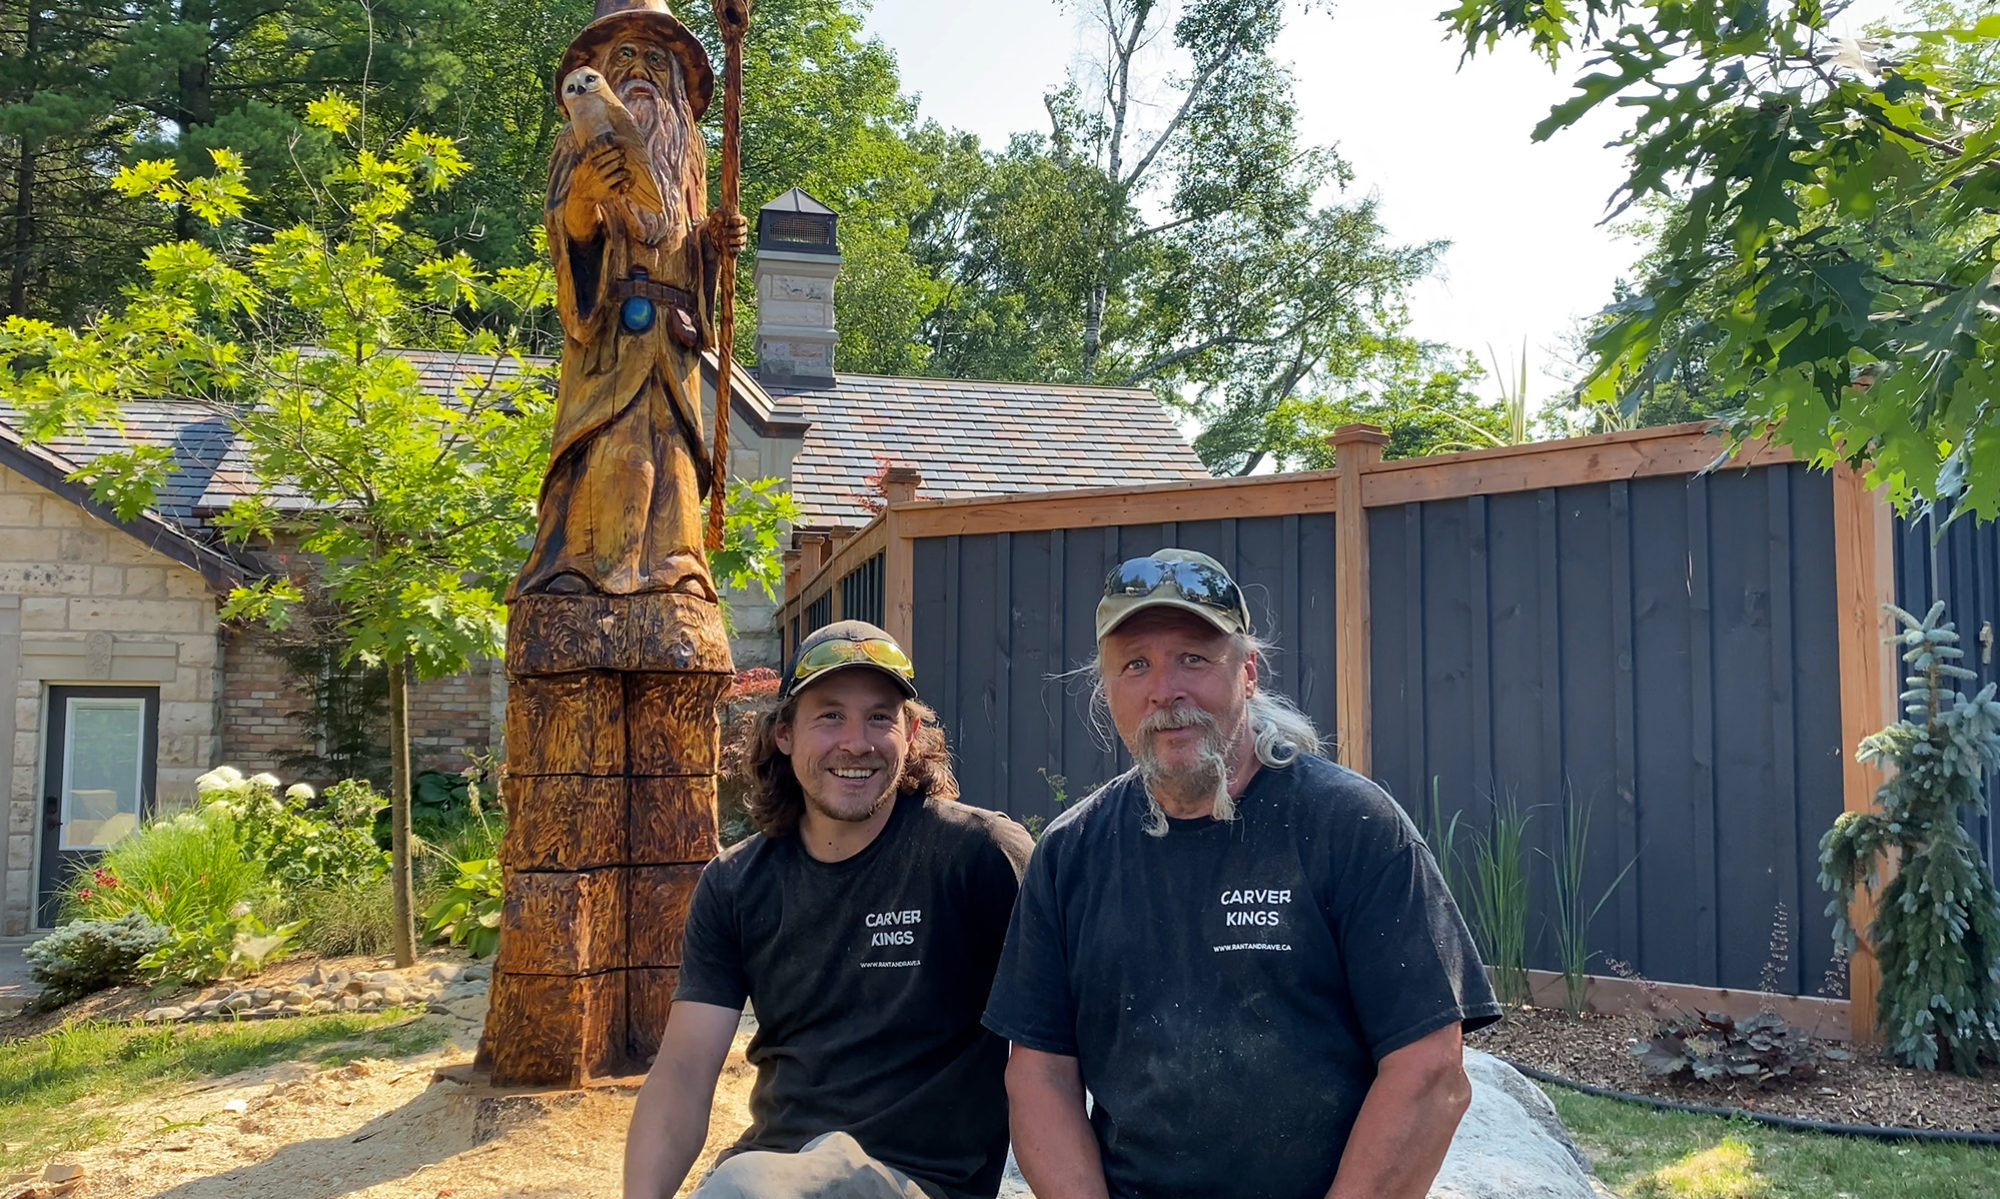
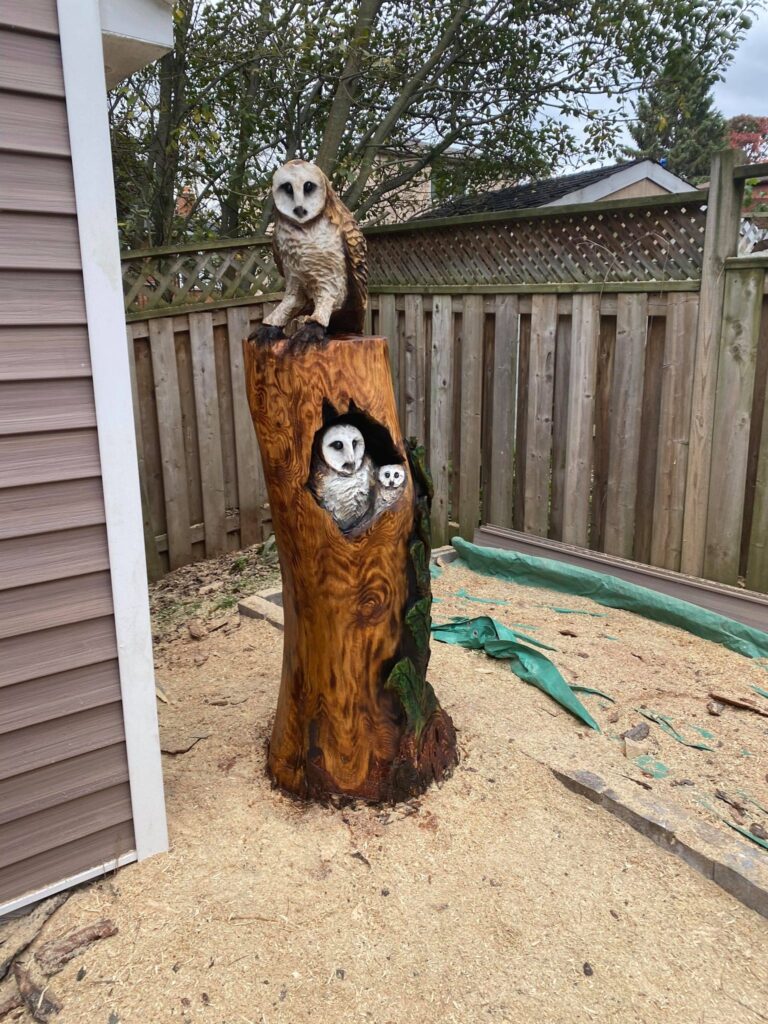
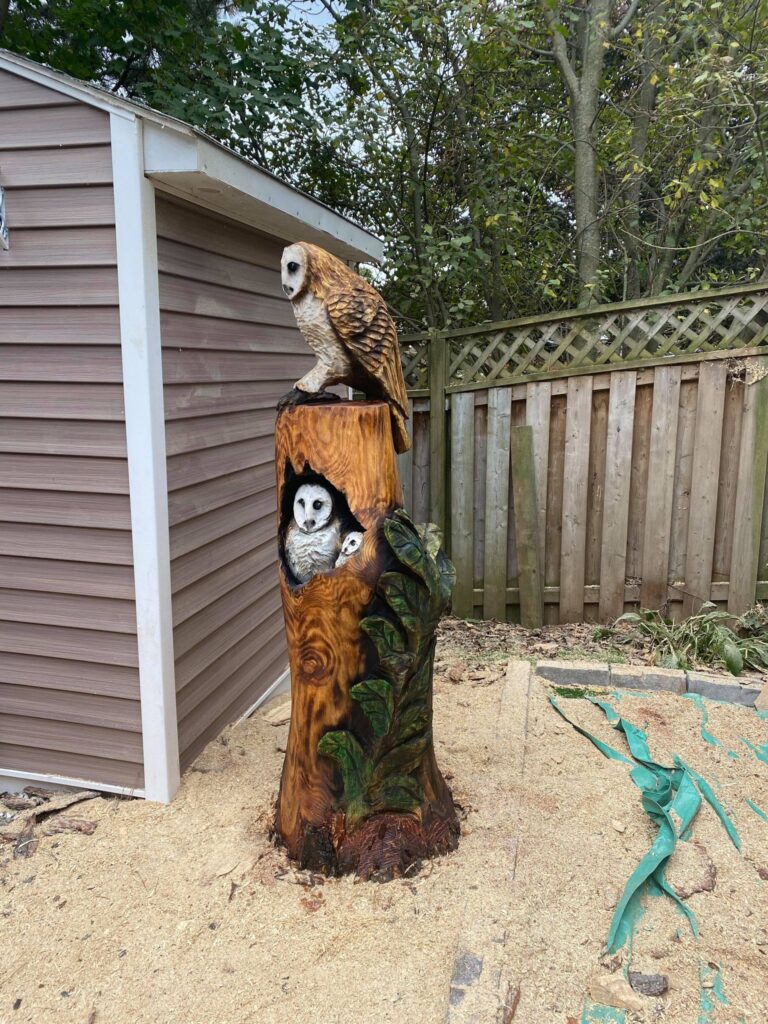
Dad and I tackle this owl carving together as a tag team carving at the same time! This piece represents the balance of nature, and the importance of family relations and love. Papa barn owl sits on top watching over everyone keeping pests and illness at bay. Mama barn owl is protected with her baby in the hole keeping everything warm and happy. The tree carved is made to represent a cedar stump with vines crawling up the side.
This was a great carve, it is very dangerous to carve next to someone else that close but given our skills with the saw and our experience working together we are able to do it safely and efficiently. Its amazing how fast the wood can move and turn into something beautiful.
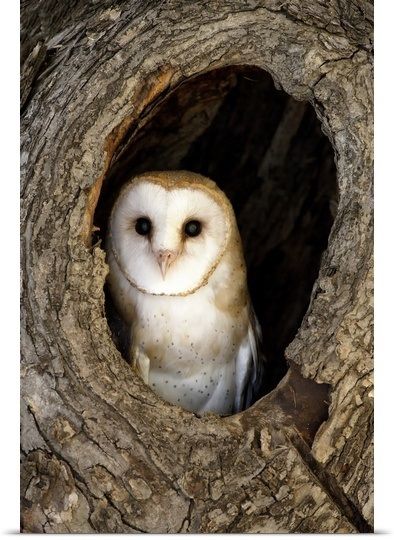
Barn owls are beautiful creatures that help balance the ecosystem by keeping down rodent and disease carrying creatures. They are deadly silent and great at hearing not to mention a beautiful bird. Some native cultures hold that owls are a sign of death and others do not I believe them a balancer a watcher that keeps illness at bay.
If you want to skip quickly through the video we made some time stamps in the description of the video. We also left a funny blooper at the end for your pleasure.
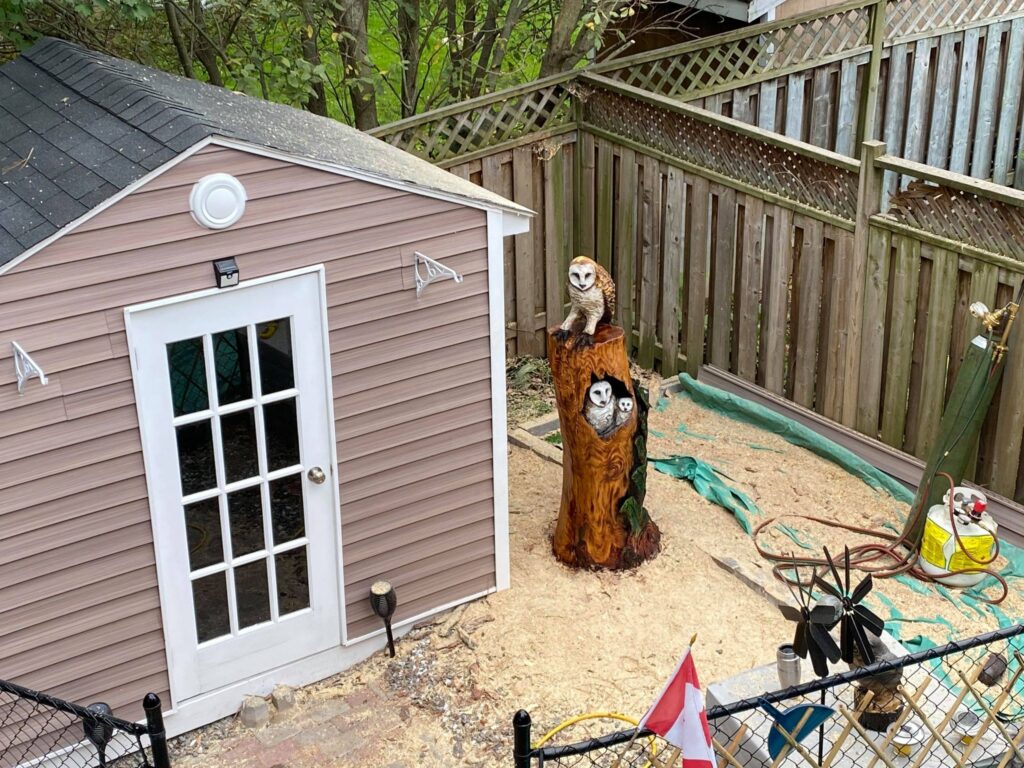
You can see a picture of the finished carving here:
front view
balcony view
walking into yard view
Thank you for checking out our video, your support and comments help us to continue making these great video for you.
If you enjoyed our tag team carving and would like to support us give this video a share to your friends and tell them why you loved it!
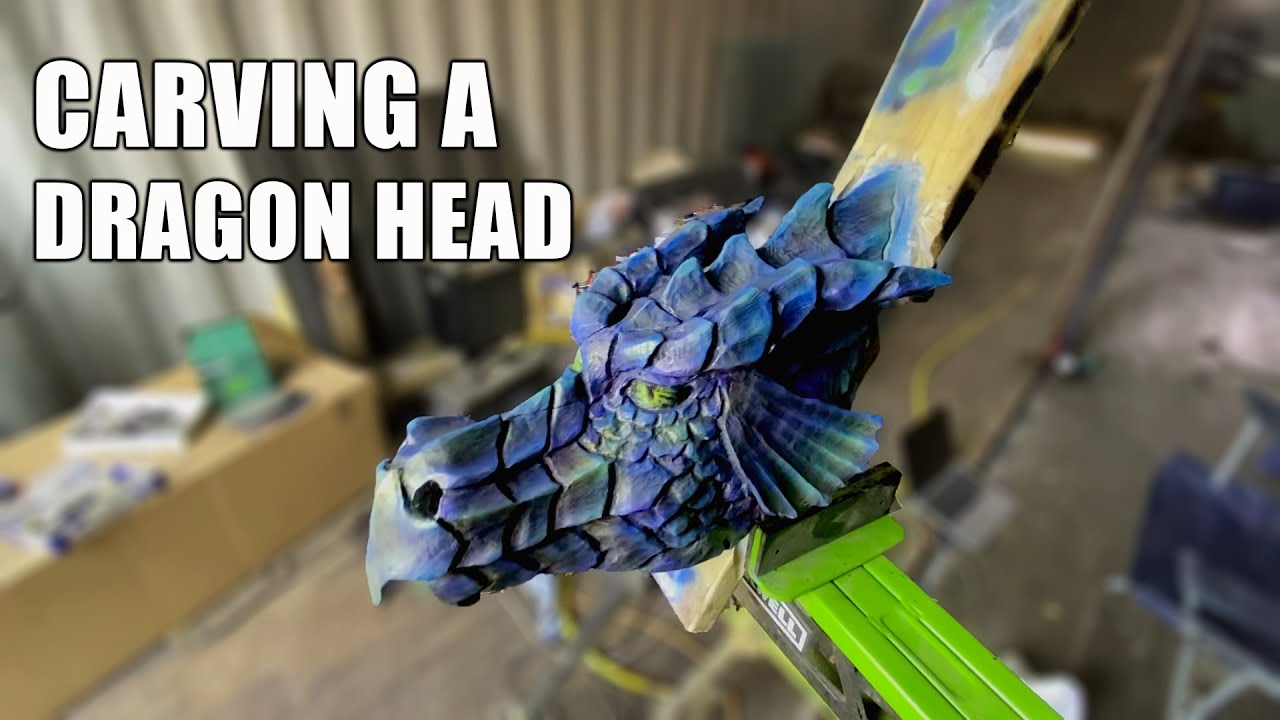
We follow up the how to carve a dragon video with a detailed video about how you carve the head of a dragon. We give some great advice on airbrushing and you get to see lots of the saw work. If you are looking for a specific part of the video or want to skip ahead check the time stamps on the video description and be sure to give it a like and a share!
If you enjoy our content and want to help support us, get our name out there and love us, head on over to our swag store we have setup for exclusive Carver Kings apparel.
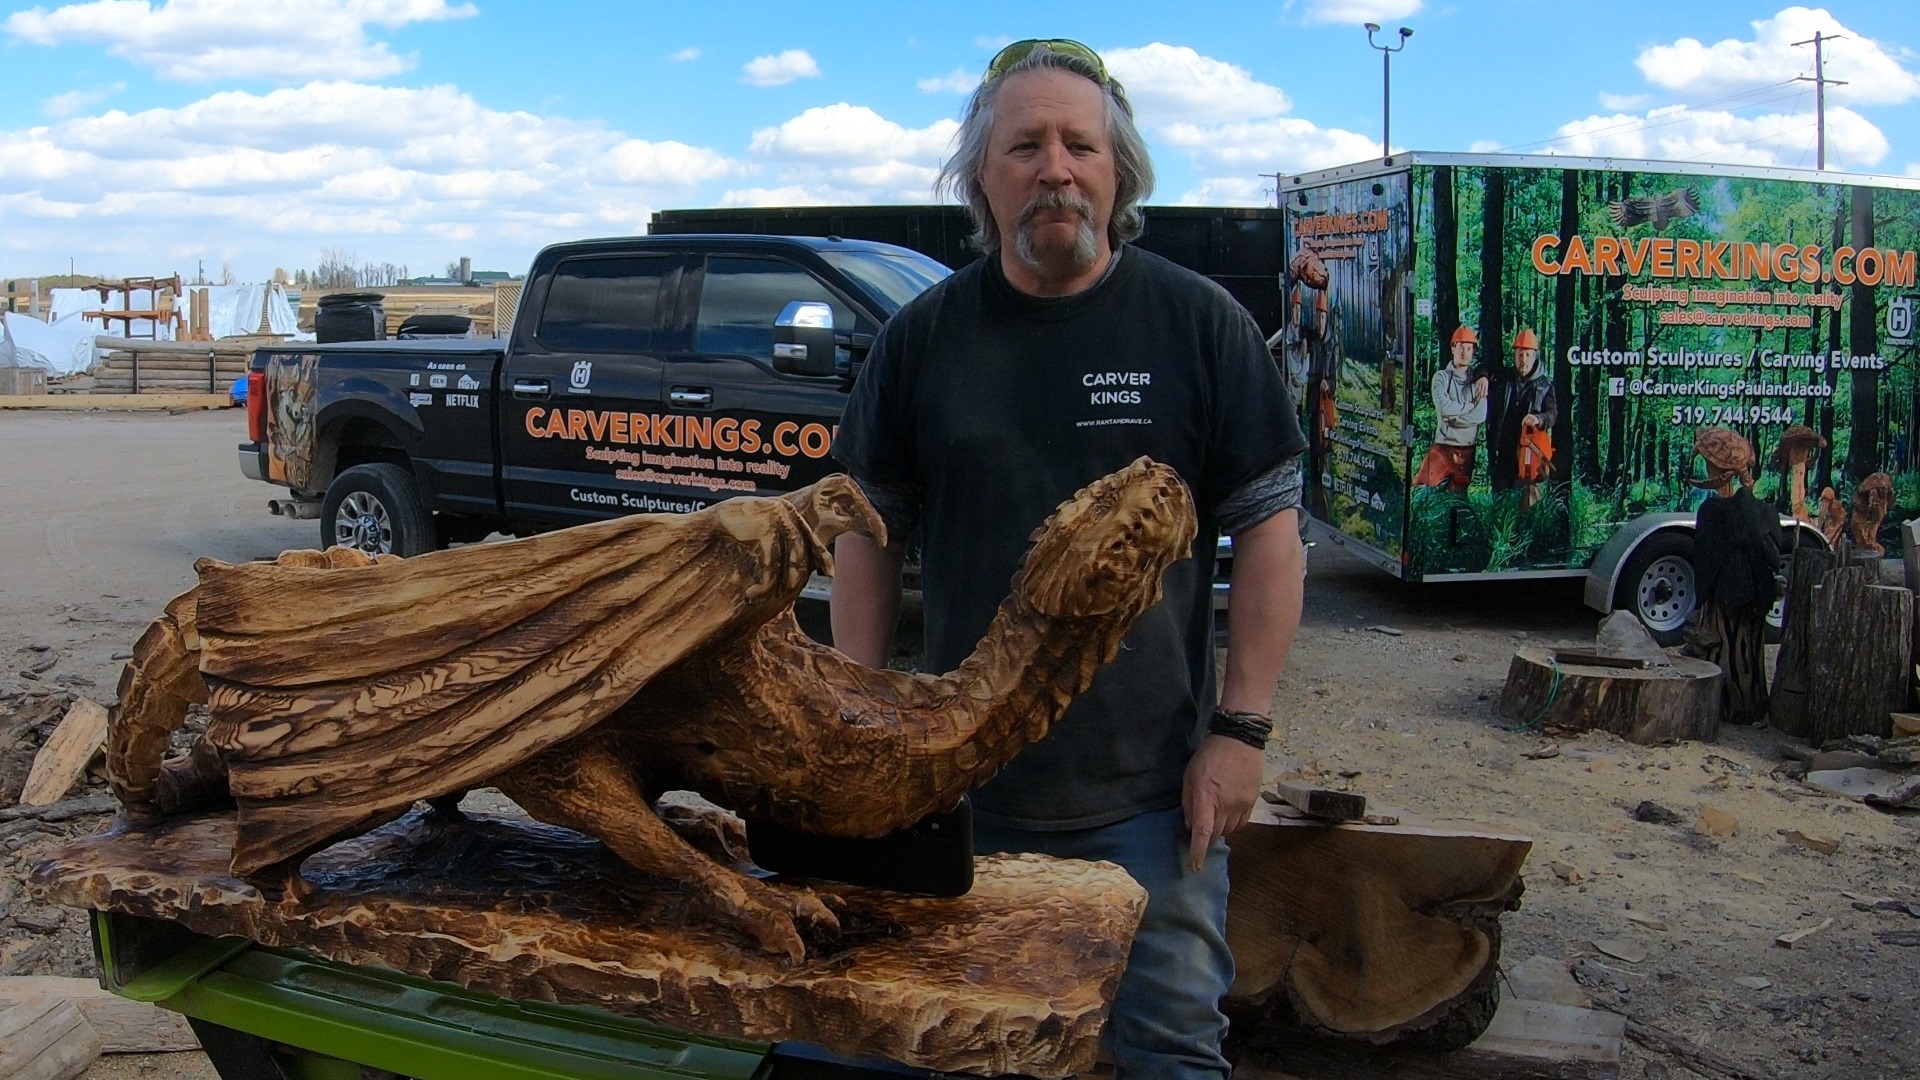
Are you interested in learning how to carve a dragon from wood? In this comprehensive 4-part tutorial series, master chainsaw carver Paul Frenette walks you through the complete process of creating a stunning wyvern dragon sculpture from start to finish. Whether you’re a beginner looking to learn chainsaw carving techniques or an experienced woodworker wanting to tackle a complex project, this step-by-step guide covers everything from initial blocking out to the final finishing touches. Watch as a piece of white cedar transforms into an intricate 3-foot dragon with detailed scales, horns, wings, and claws.
What is a Wyvern?
Wyvern (pronounced “WY-vern”) is a winged two-legged dragon with a barbed tail. This mythical creature is a popular choice for chainsaw carving because its unique anatomy creates an impressive visual impact while remaining achievable for skilled carvers.
Tools & Materials You’ll Need
To carve a wyvern dragon like Paul does in this series, you’ll need: – Quality chainsaws (multiple sizes for detail work) – Die grinders and angle grinders for fine detailing – Hand carving tools and chisels – White cedar wood (or similar carving wood) – Protective gear (safety glasses, gloves, hearing protection) – Clear wood sealant or polyurethane for finishing
## Part 1: Initial Blocking & Shape Development
Part 1 of this dragon carving series shows the crucial first step where Paul blocks out the basic wyvern shape from the white cedar log. The wyvern wood carving is approximately 3 feet long and will be carved entirely with chainsaws. This initial phase is where you establish the overall proportions and main body shapes—the foundation for everything that follows. You’ll see how the experienced carver visualizes the final dragon within the raw wood and begins rough-cutting the basic form. The blocking stage requires patience and precision, as mistakes here become much harder to correct later. Watch Paul demonstrate proper chainsaw technique and how to safely remove large sections of wood while maintaining control.
## Part 2: Adding Detail & Refining the Form
Part 2 shows the dragon coming to life as Paul carves out more of the detailed shapes and proportions. Using power tools like die grinders and angle grinders combined with hand tools, he begins revealing the wyvern’s true character. This phase involves careful detail work on the dragon’s wings, legs, head, and body contours. You’ll witness how the combination of power tools and artistic skill creates smooth transitions and realistic proportions. This is where the sculpture transforms from a rough block into something recognizable as a dragon. Paul demonstrates the importance of step-by-step refinement and how working in stages prevents irreversible mistakes. The techniques shown here are essential for any chainsaw carving project.
## Part 3: Fine Detail Carving – Scales, Horns & Features
Part 3 is where everything comes together through fine detail work. This is the most time-intensive phase where Paul carefully carves the dragon’s scales, horns, claws, wings, and facial features. Each detail requires precision and artistic vision to bring the wyvern to life. You’ll see how professional carvers handle small details without damaging surrounding elements. The fine detailing process shows patience and technique—this is where the wyvern truly transforms from a sculpture into a lifelike dragon. Watch as Paul demonstrates how to create realistic scale patterns, sharp claws, and expressive facial features that give the dragon personality. This phase demonstrates why chainsaw carving requires both technical skill and artistic ability.
## Part 4: Finishing & Clear Coat Application
The final part of this wyvern carving tutorial shows the finishing details on the dragon’s legs, chest, and spine. Paul completes the fine details and then applies a professional clear coat finish that brings out all the carved details and wood grain. The clear coat is essential not only for aesthetics but also for protecting and preserving the wood from weathering and UV damage. You’ll see the complete finished dragon for the first time, revealing all the intricate work that went into the sculpture. The finishing process is crucial to the overall appearance and longevity of your chainsaw carving projects. This final step transforms the raw wood carving into a polished, gallery-quality piece.
Ready to Commission Your Own Dragon Carving?
If this wyvern carving series has inspired you, Carver Kings can create a custom chainsaw carving dragon just for you! Whether you want a 3-foot wyvern like Paul’s version or a different mythical creature, we design and carve custom wood sculptures for homes, gardens, and businesses across Canada.
✓ Chainsaw carving requires careful planning and multiple phases ✓ Start with proper blocking before moving to details ✓ Combine power tools with hand tools for best results ✓ Fine detailing is where the artwork truly comes alive ✓ Professional finishing is essential for preservation and beauty
If you enjoyed this series or learned from it, please share this video on your social media and subscribe to our YouTube channel. Your support helps us create more detailed tutorials and showcases the art of professional chainsaw carving!
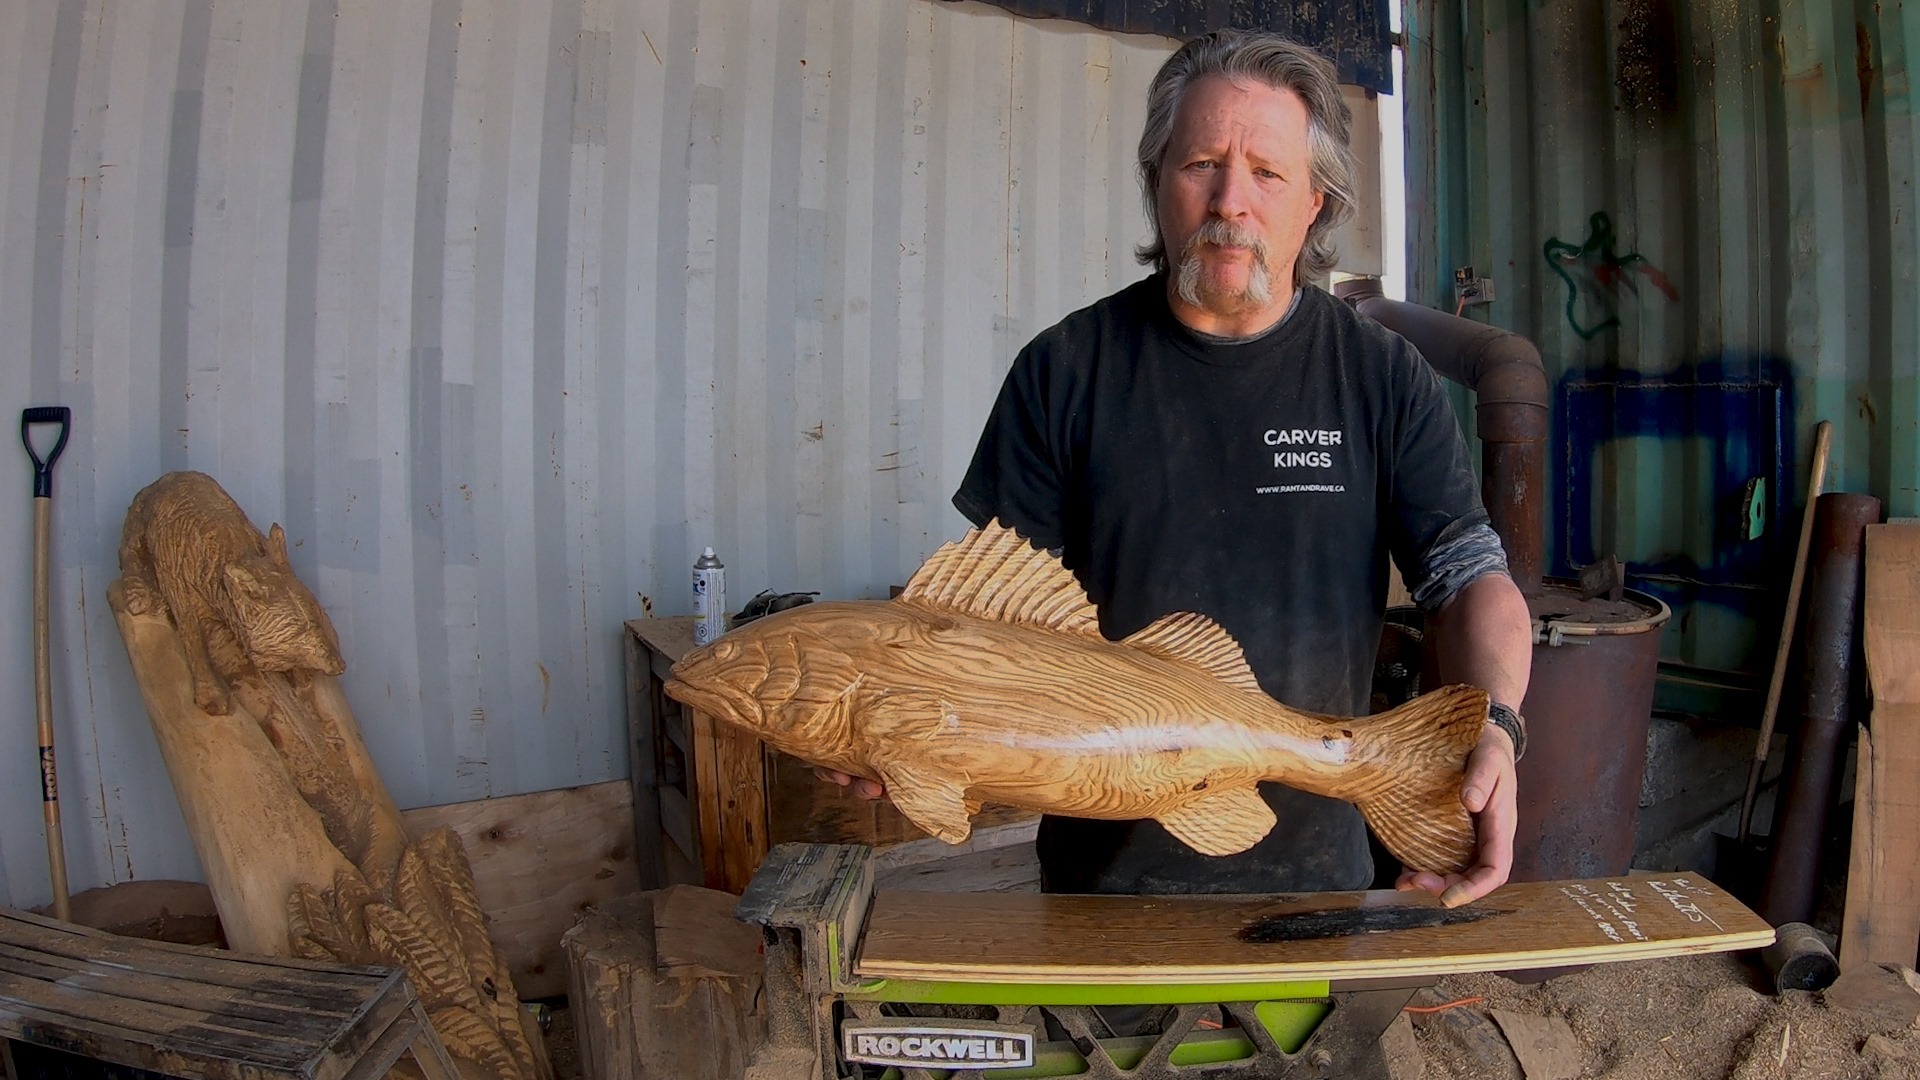
This project was a commissioned retirement gift, dad chose an awesome piece of white oak for this project, the grain will suit the walleye well. The walleye wood carving is about 2 feet long with some subtle but realistic movement. Keep the monster fish out in the water and instead get a nice wood mount, we have done large scenes with carved fish and coral for both fresh water and salt water scenes.
Come watch the work that goes into making these wonderful sculptures and be sure to leave a comment so we know what you thought. To get our newest videos right away subscribe via the button below and hit the bell on anyone of our videos.
Our next online project we are sharing with you will be our Dragon carving video, Part 1-3 are out on our channel now but well be sending you part 1-4 later this week. Signup to get our videos emailed to you along with our giveaways and event listings.
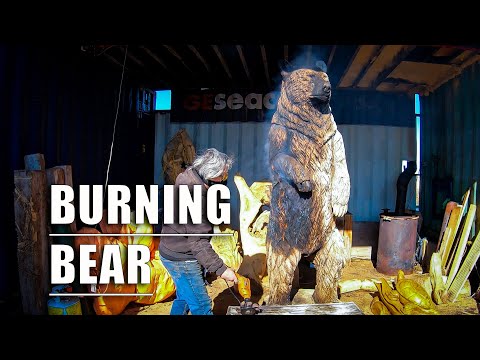
On today’s video we are showing how to finish carving an 8 foot brown bear. Bears can be found all over north america, and have many meaning for many cultures, the Anishinaabe clan hold the bear as the healer or physician. This one is made from a white pine and has been drying for over a year, we give this wood carving its finishing touches with burning, sanding, shading, airbrushing and sealing. This bear was carved out using just chainsaws, from local wood in Ontario.